Projects
Land
I spend alot of time camping and doing outdoor activities. I purchased some land for hunting and camping. I also purchased a couple of smaller lots and built a shack near Mille Lacs Lake. Here is a link to my land page.
Land Page
Programming Projects
Here is a link to some programming related projects I have had over the years.
Programming Page
Auto Projects
Here is a link to some automotive related projects I have had over the years.
Auto Page
3D Printing
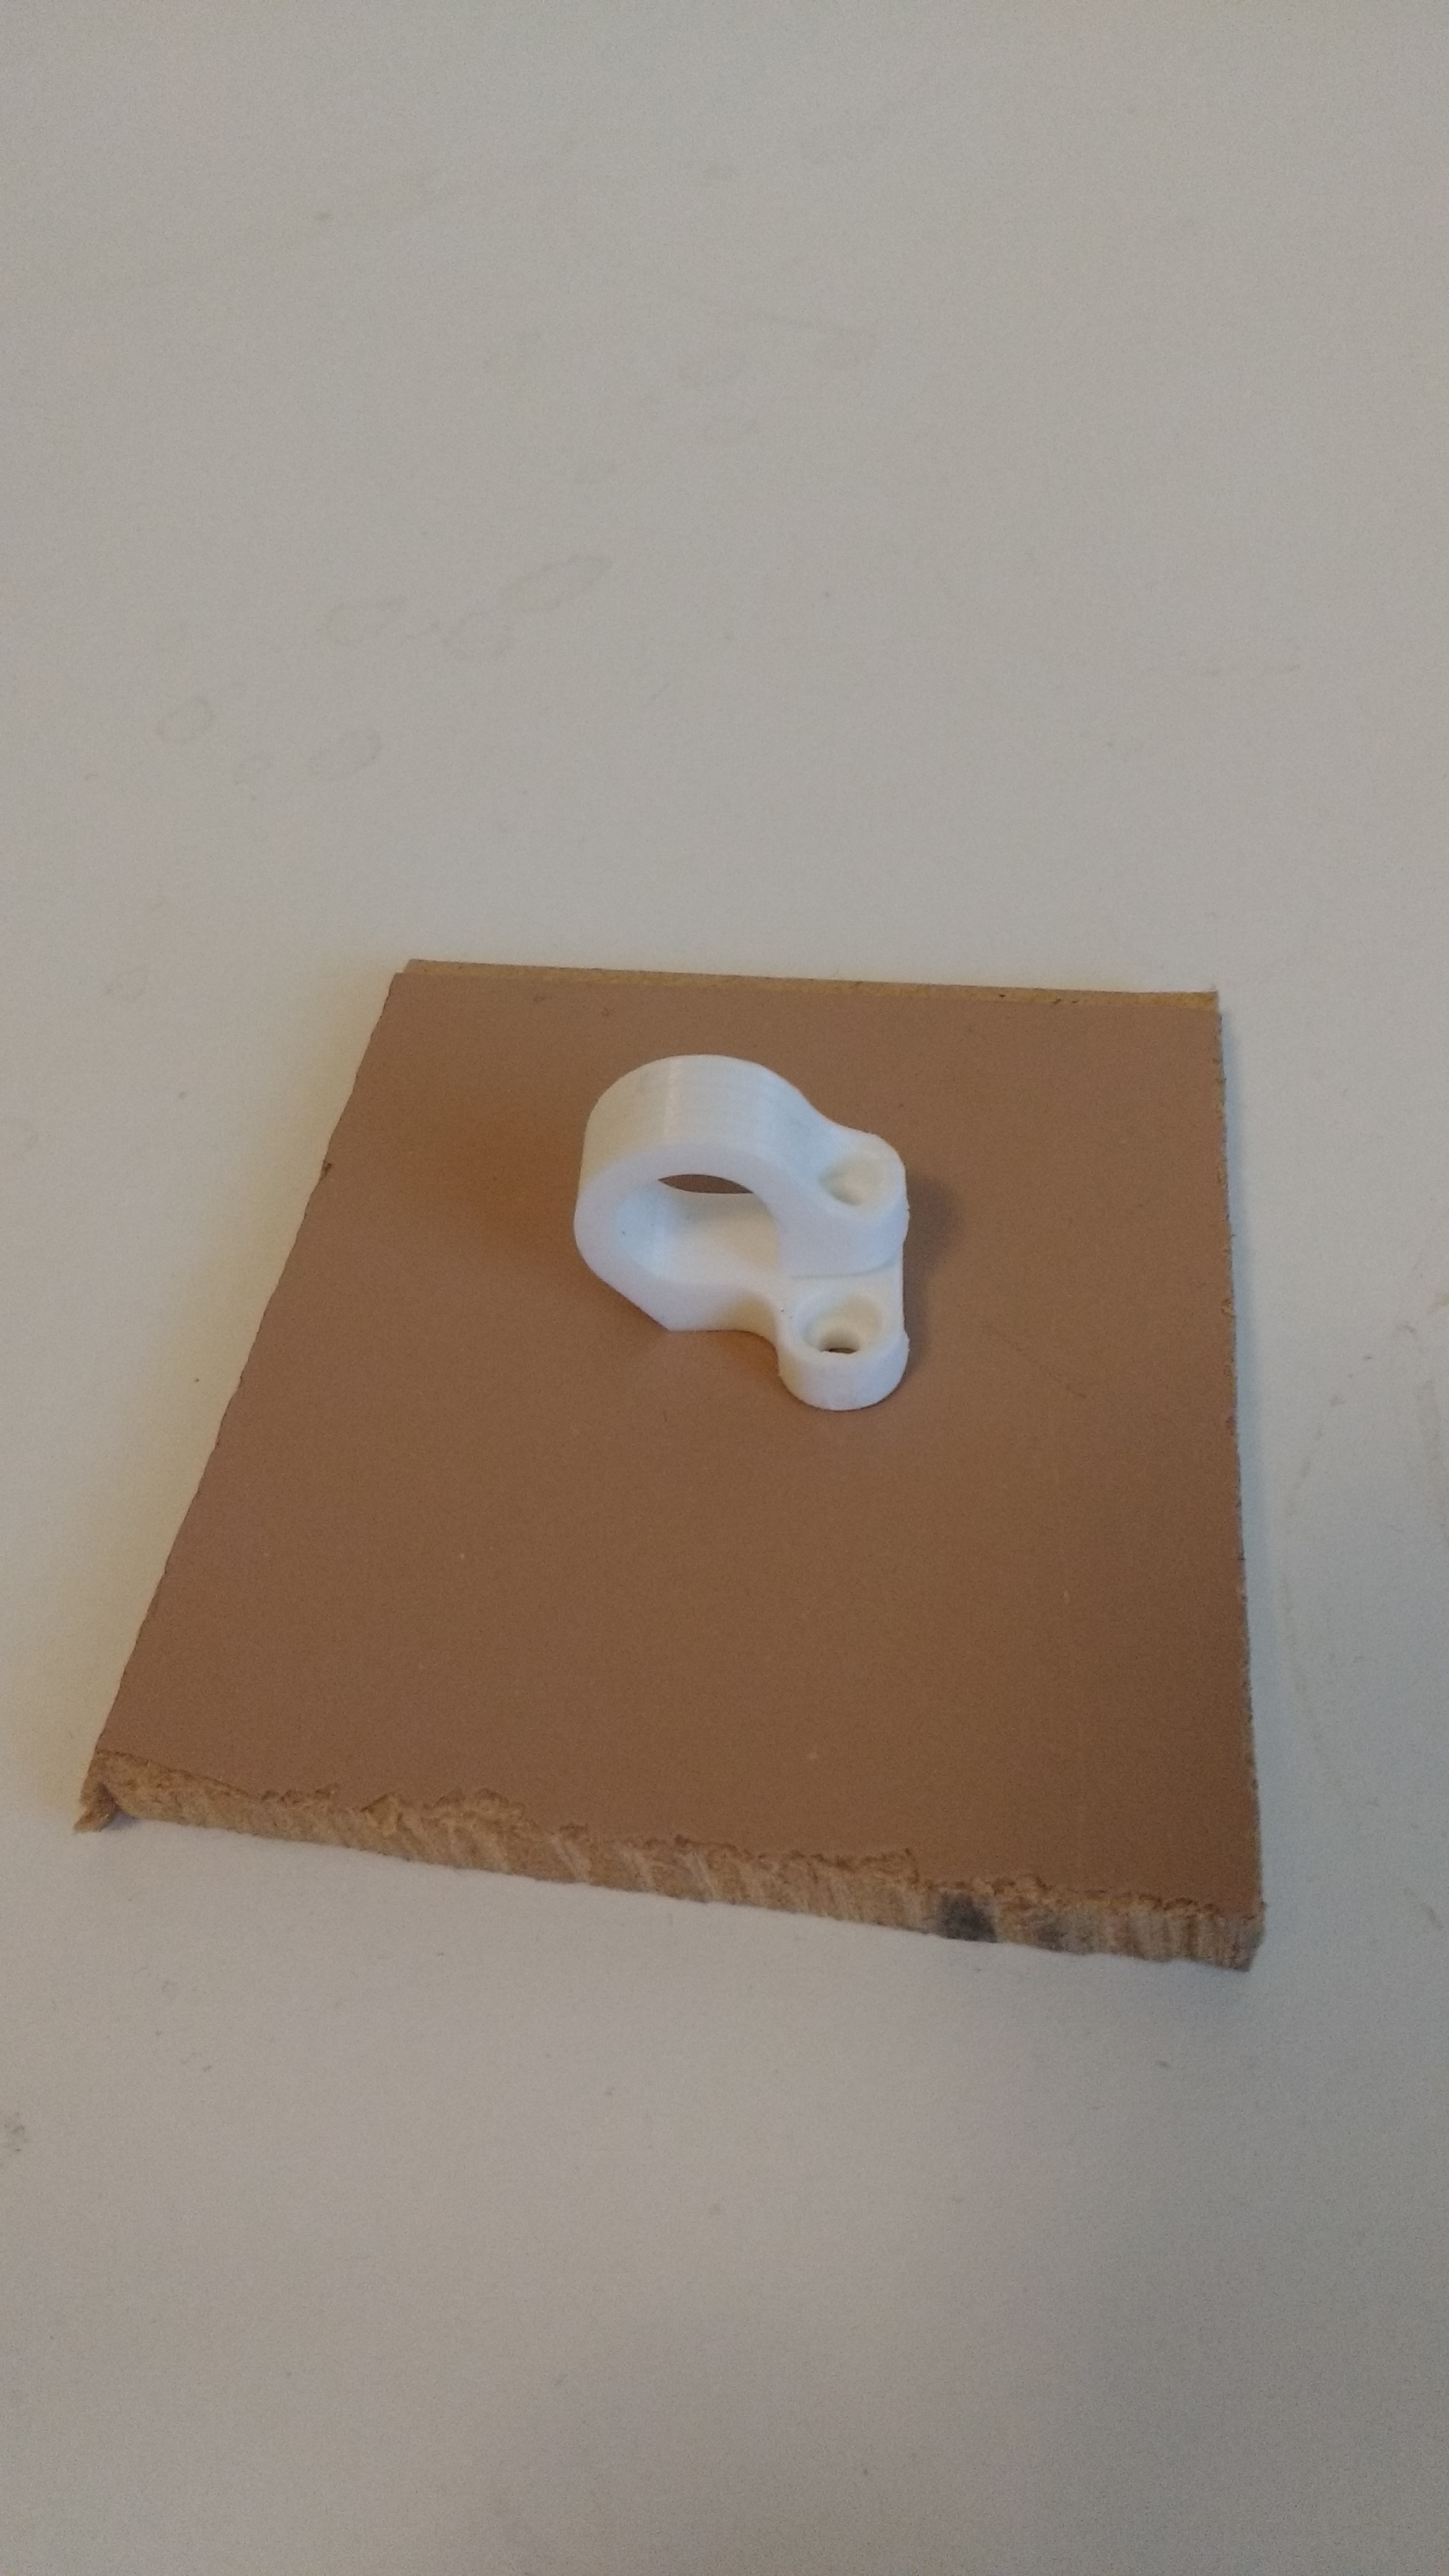
For years I have been making small projects on my lathe and milling machine in my basement. A 3D printer seemed like the next logical step in prototyping and designing. I purchased a Printrbot Play 3D printer. This printer is very reasonably priced and produces good quality prints. I have a page dedicated to my 3D printing projects below:
3D Printer Page

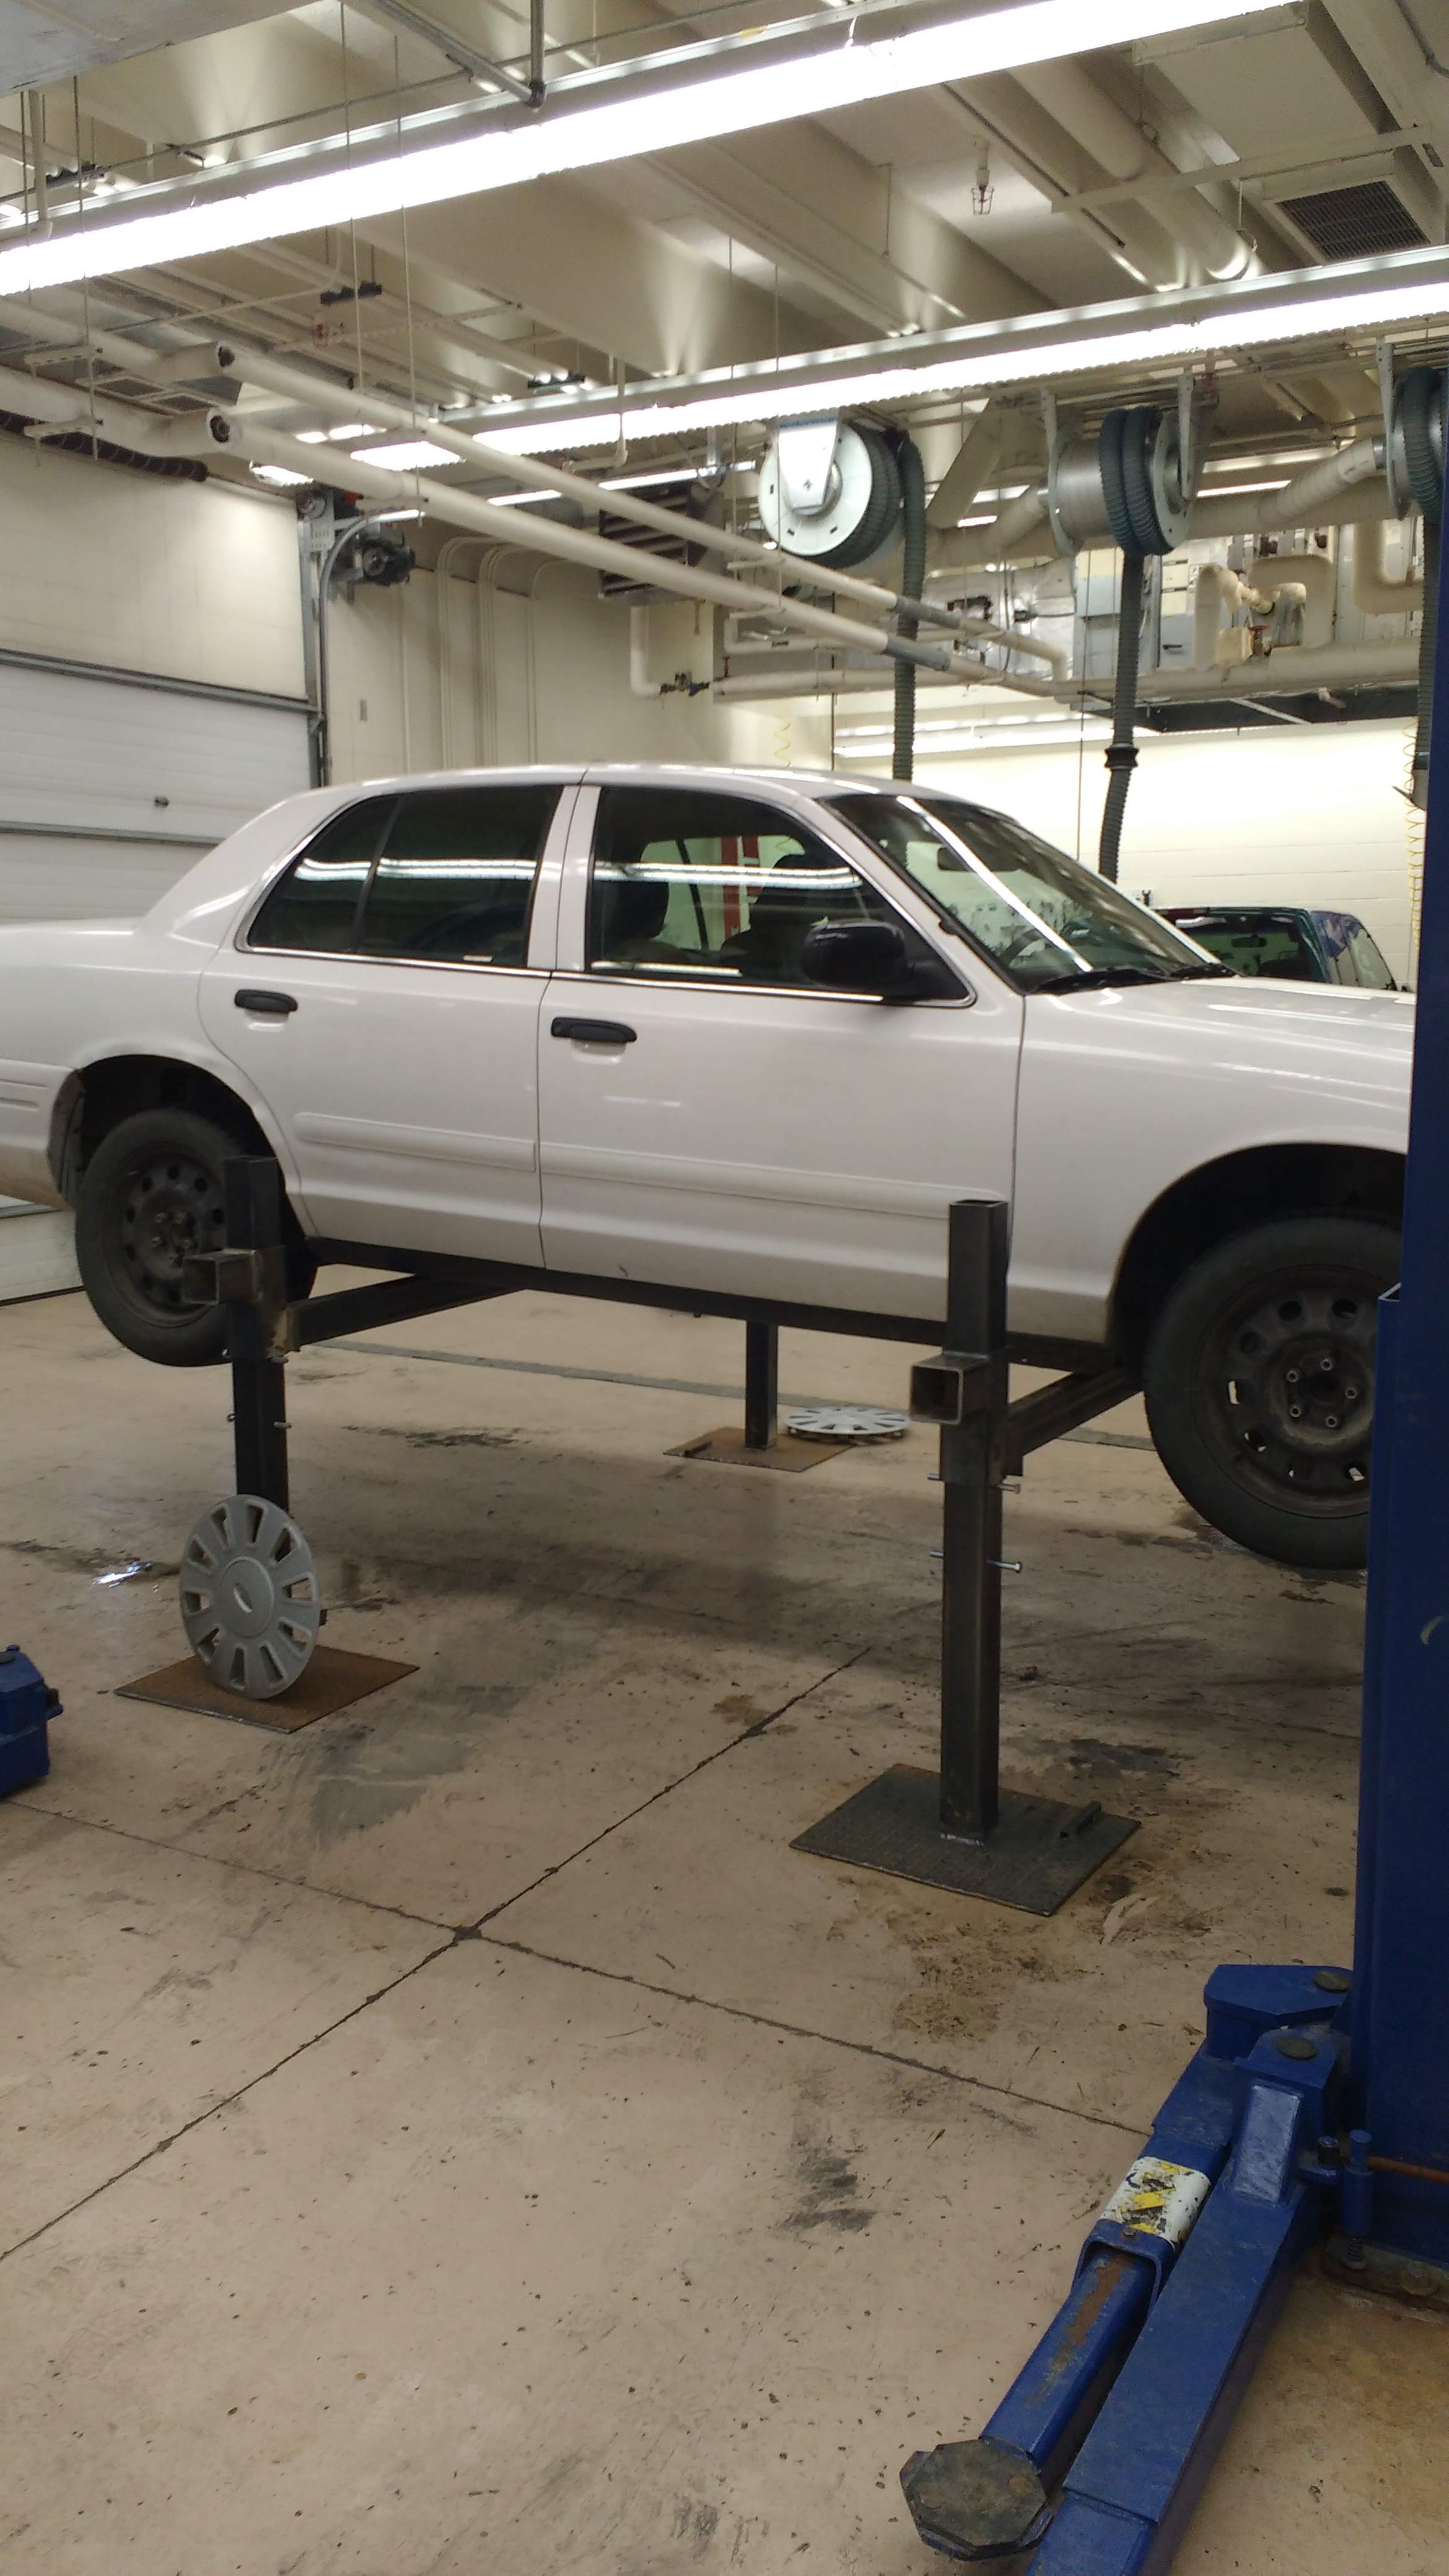
Car and Truck Lift
Here is a low rise lift I built for cars and trucks. It will lift a vehicle 36 inches and can be used in a standard height garage. SUVs will run into the center mounted garage door openers when used at higher heights. I have looked at commercial lifts, but wanted something more portable and versatile. Generally they require electricity and hydraulics. My lift requires neither. It does take a while to use so I only use it on larger jobs when I need to access the underside of the vehicle. Each corner of the lift is raised with a farm jack one axle at a time. I don't like farm jacks so I built all the structure and safety locks into the posts. The user walks the safety pins up 6 inches at a time when the vehicle is lifted. When at working height, the car is lowered onto the posts and the farm jacks are removed.
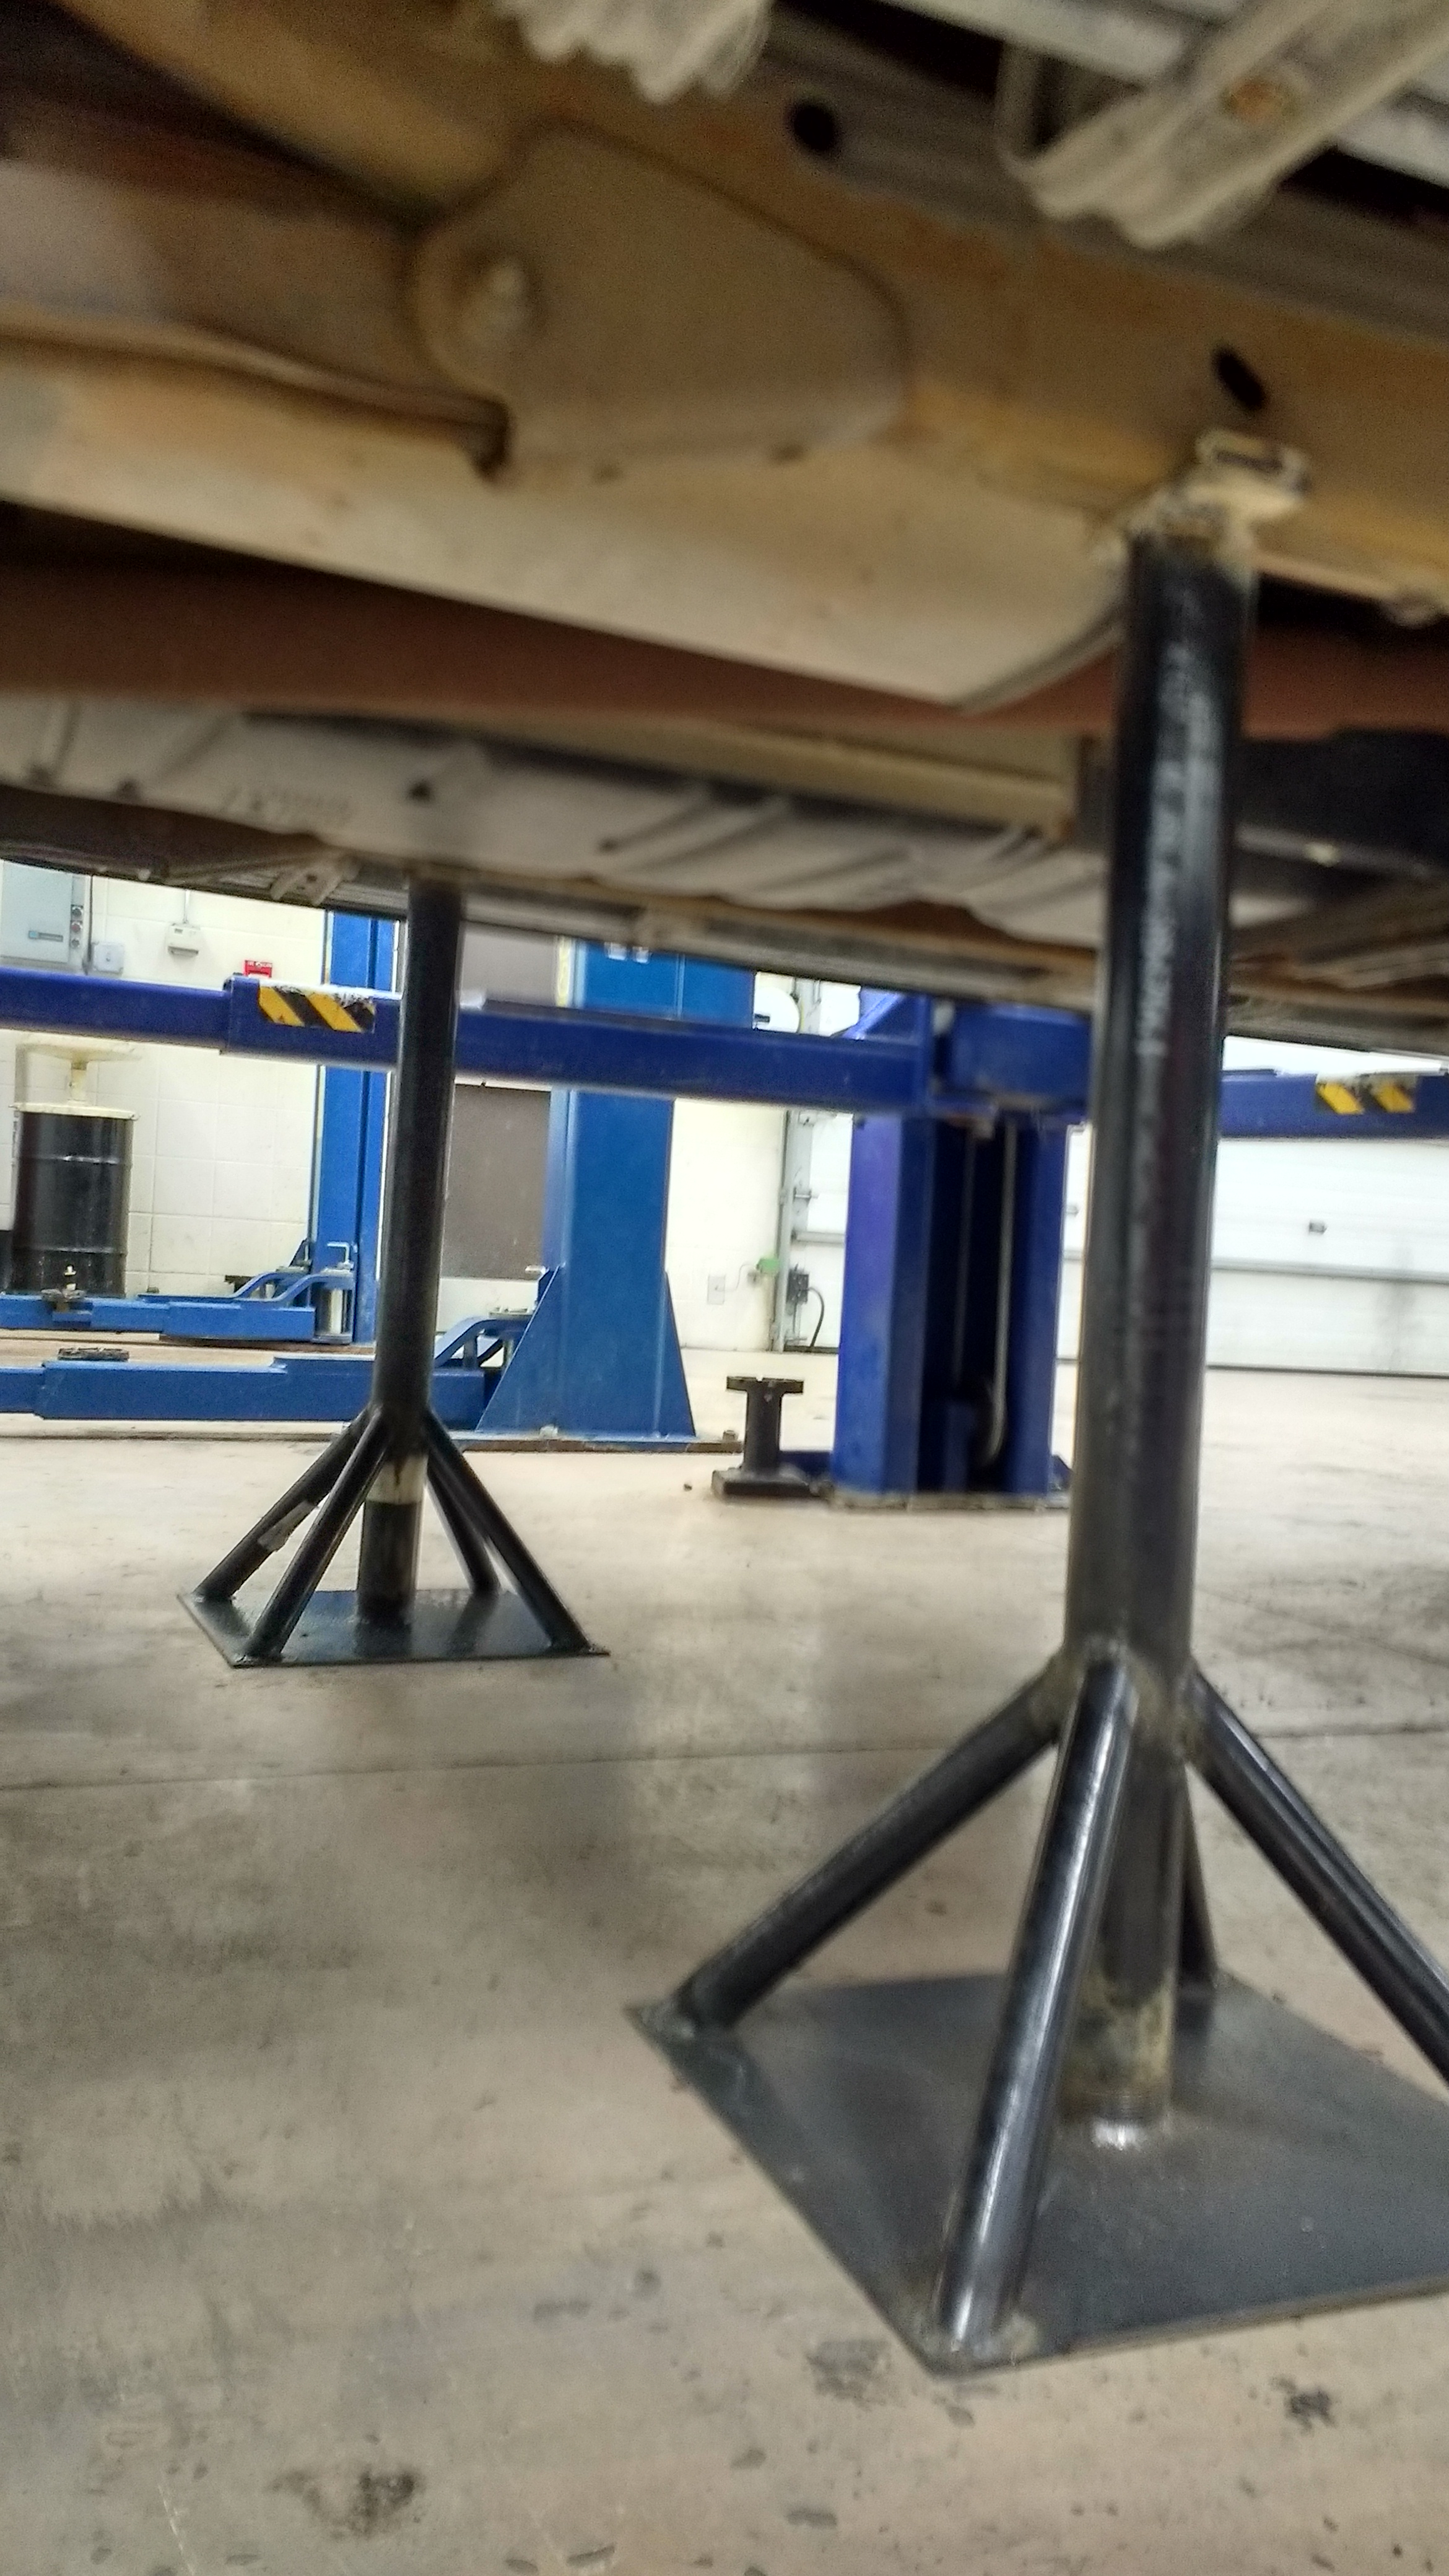
30 Inch Jack Stands
I made this pair of 30 inch jack stands to go with my low rise hoist. You can still make them for cheaper than they can be purchased. I trust the welds and the steel better as well. These are fixed height so there is no wobble. In this picture the jack stands are supporting half of my 5200 pound suburban.
Garden Tractor
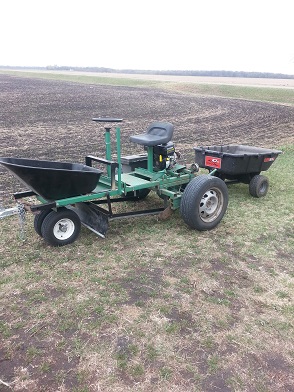
I have wanted to make something like this for a long time, and I finally got the opportunity when a friend gave me a Chevy S-10 rear axle. I picked up a 5hp cement mixer engine and set up a gear reduction well over 100 to 1. I have chains for it and it actually plows and pushes dirt pretty good with the low gear ratio. I made a small pull type lawnmower for this tractor to pull as well. The front wheels come off so that I can tow it behind a car or truck. It is wired with trailer lights for towing.
Snow Blower for the 49 Farmall C
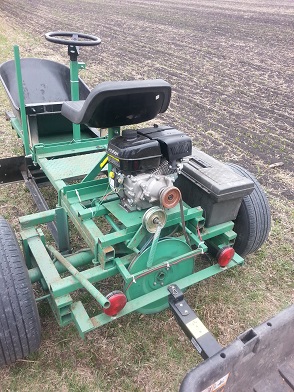
I picked up this Erskine pull type snow blower for $75 dollars. It was in very good shape. I just needed to make some modifications so that I could use it on my Farmall. The pto on my tractor is not live, so it stops whenever the clutch is pushed in. That is not a great setup for blowing snow! It is also quite heavy for the tractor and has a fairly steep angle if one tried to use the pto shaft. I decided to use it with a two point instead of three and put a caster on the rear to support the weight. I added a 13 horse power engine to directly run the single stage paddle. That doesn't seem like enough, but I have a 6:1 ratio between the crank shaft and blower paddle. It moves snow pretty well. Anything you can drive over, it can take.
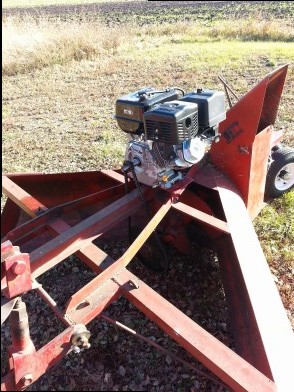
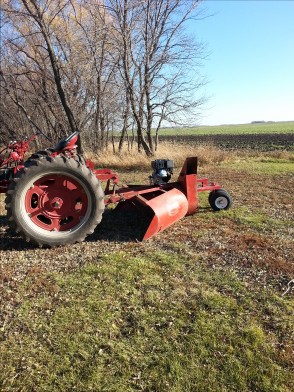
Rocket Stove
This is my version of a rocket stove. I have seen plenty of these on the Internet and thought that I would try my own version of one. It burns really hot on a small amount of wood.
Pellet Basket
I made this pellet basket for burning pellets in a regular wood burning stove. The video shows the pellet basket in action.
Mini Bike
Not all of my projects have been practical. Here is completely home made mini bike. I used 1/2 inch black pipe for the frame and bent it with an inexpensive hydraulic pipe bender. I used a jack shaft so that I could get a little lower gear ratio than just using two gears would allow. This keeps the top speed down, but it can climb and has plenty of torque.
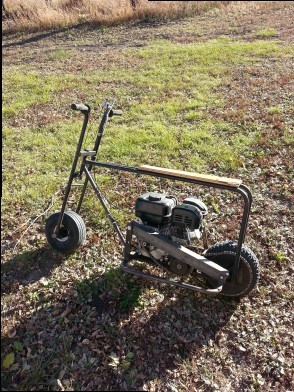
Bike Build
I built this bike as my winter bike for the twin cities. It is a single speed geared very low for ice and snow. I used a dirt bike frame on steroids that accepted 26 inch wheels. I used disk for front and rear wheels. The tires are not fat tires but they are agressive. The bike is stable and alot of fun.

Microcontroller Programming
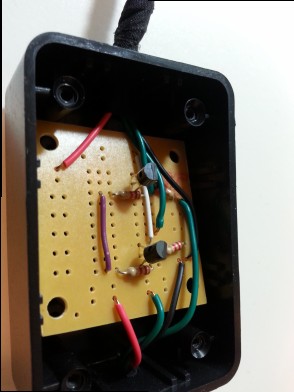
I have a very inexpensive way to program my pic microcontrollers. I use a breadboard and a signal inverter. The signal inverter is just a couple of transistors and resistors used to invert the serial input and output from the usb to the pic chip of choice. I soldered the finished product onto an electronic prototype board. The inverter is housed in the black box by the keyboard. This was alot less expensive than buying the pic programmer and cable.
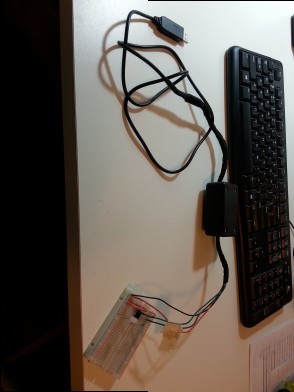

Inverter Board
Here is a picture of the soldered inverter board.
Lathe
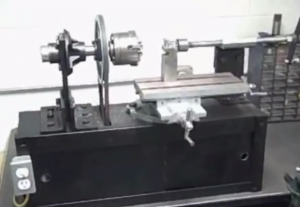
I made this lathe many years ago and got rid of it quite a while ago. I still see these lathe pictures on the internet so I downloaded this one to keep as an archive. It was a fun project and did work well for soft materials and simple projects.
Loader
This is a project I made years ago when I taught in Moorhead. Initially it was set up as a 4wd. It later had a caster in the rear with the drive wheels in the front. This proved to be way more manuverable.

Condo
Eden Prairie.
